mixed media
« Previous Entries Next Entries »New Chairs in progress – first, Shiva as Nataraja
Friday, May 1st, 2015
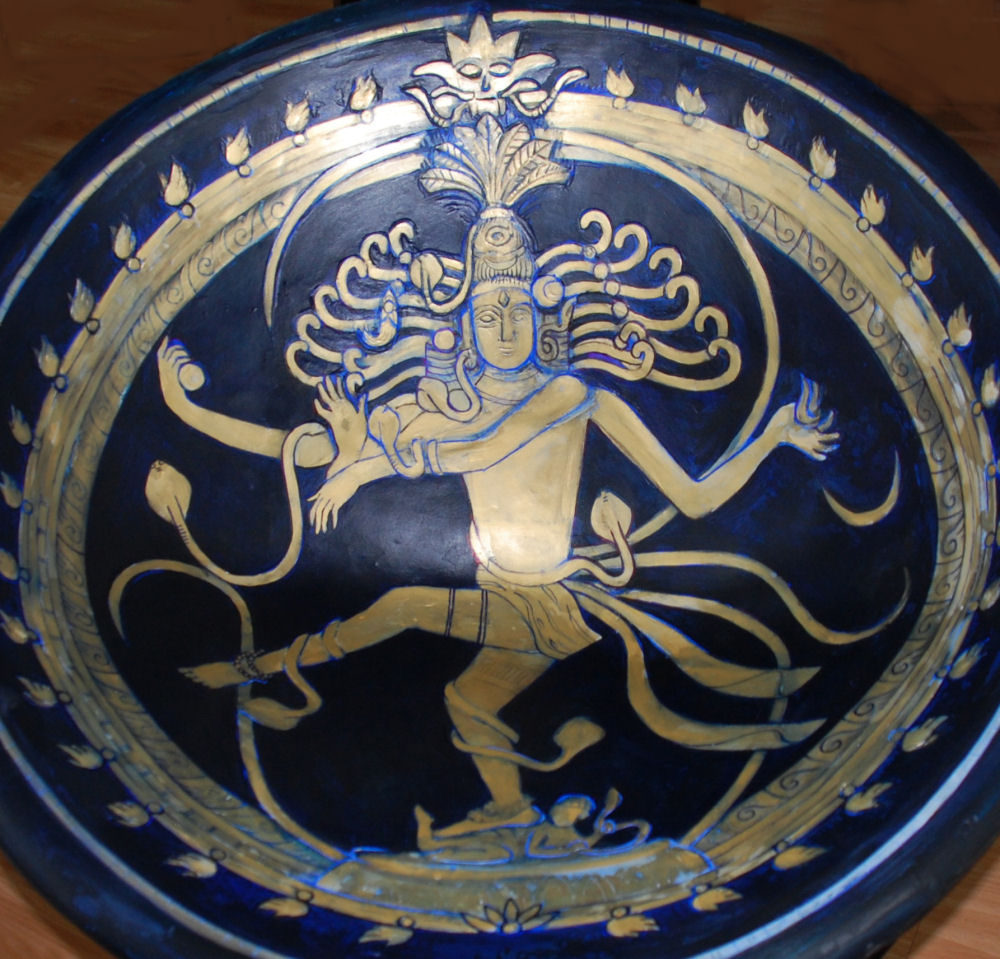
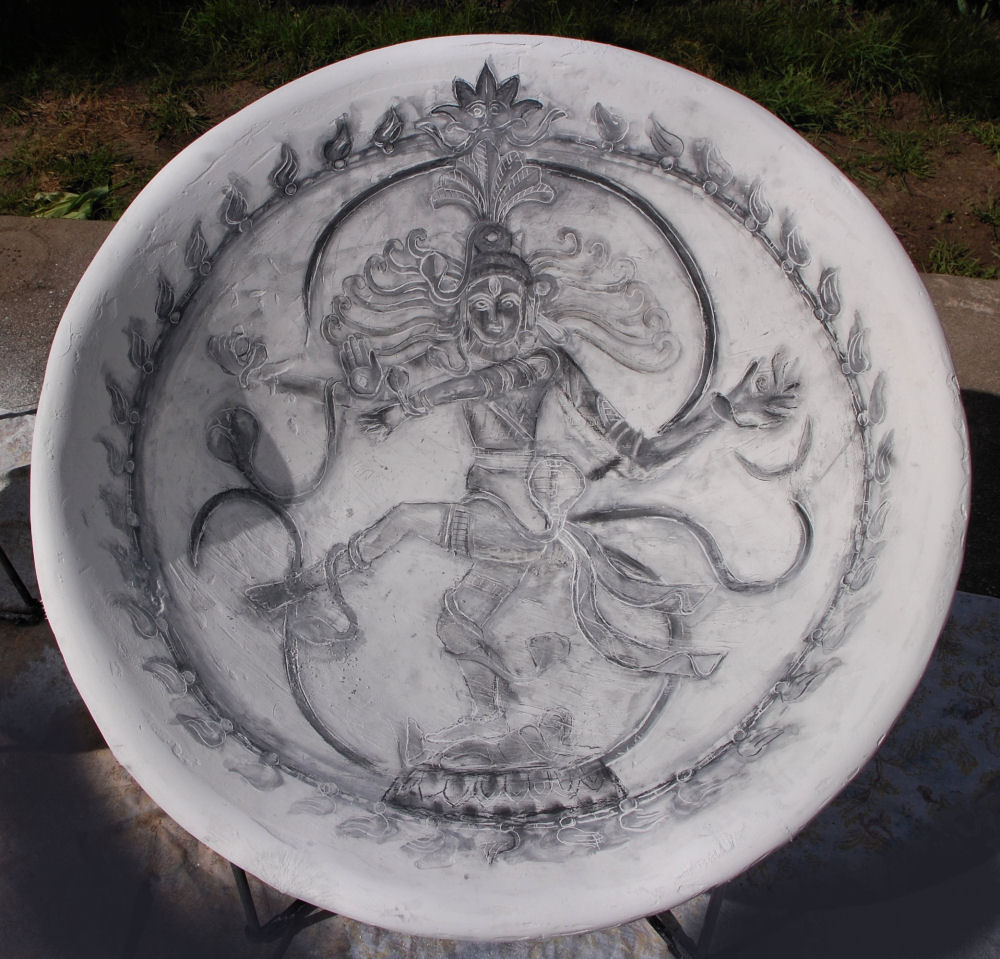
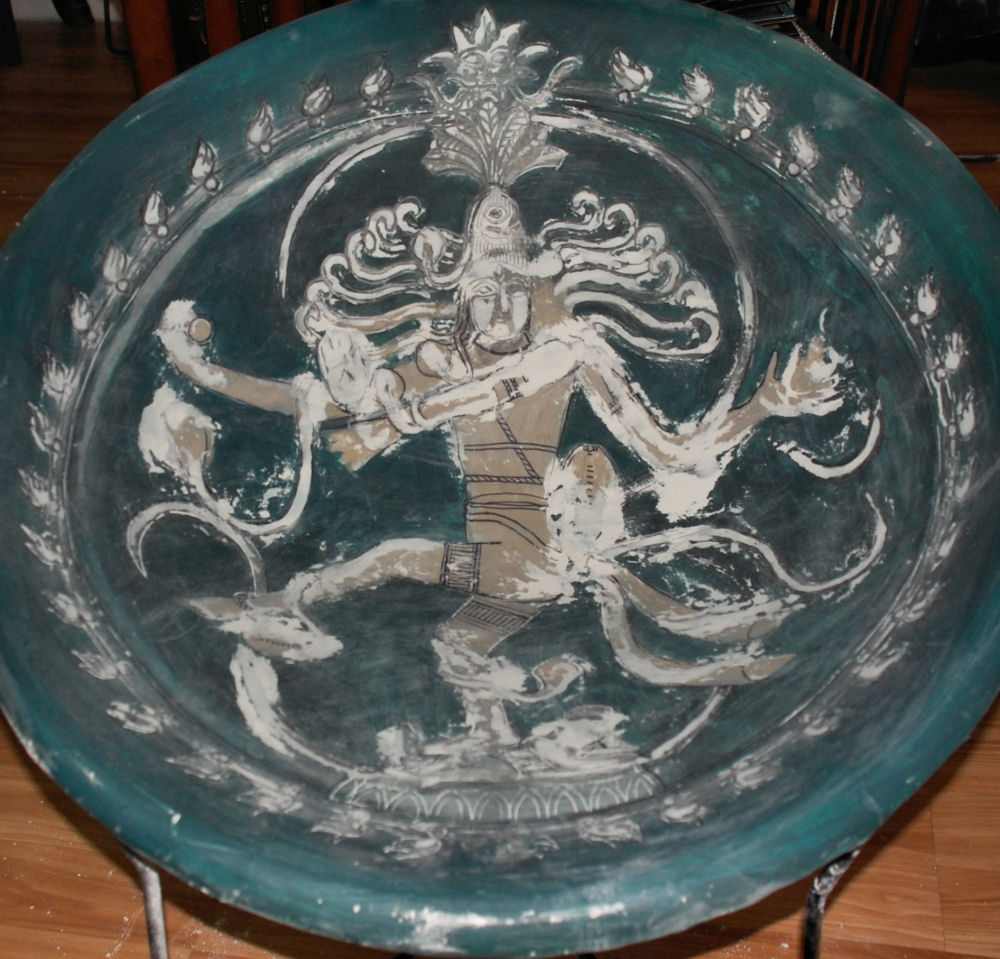
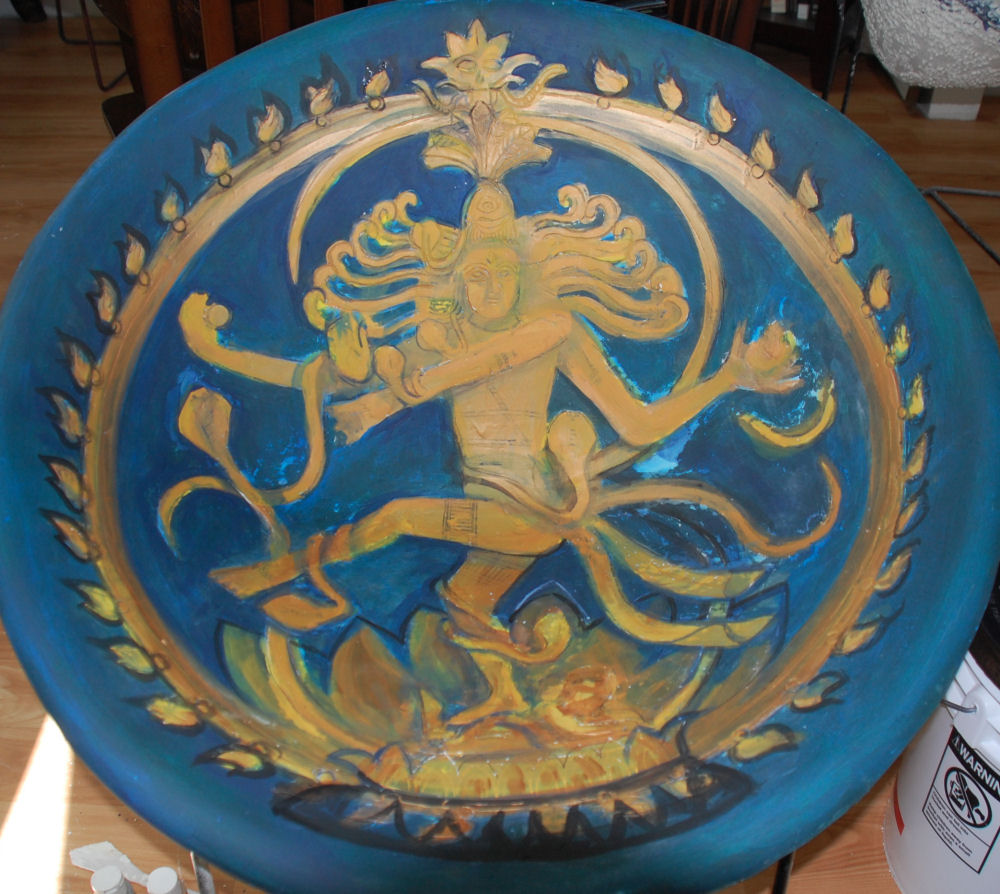
Shiva as Nataraja chair in progress
The Lord of Dance symbolism
Eastern philosophy is full of symbolism for concepts much deeper than words could ever express. The teachings are so complex but beautifully simple at the same time. Divine concepts are depicted in human forms with worldly items to help us identify somewhat, and increase our understanding toward making healthy decisions in our lives – for mind, body, and soul.
 Sculptures, pictures, and literature are charged with multiple meanings and contradictions conveying the extremes in Life, like the existence of intense joy and pain, and the importance of balance in day to day living, and practicing a middle road of contentment. The interpretations here only outline the more prominent symbolism of this famous icon. As research continues, this article will elaborate on the most important symbols of this sculpture.
The purpose of the dance is to release us from our ignorance and entanglement in the world of opposites, all set within the circular, rhythmic motion of the universe. We are to acknowledge, yet remain detached by their effects. It is said that Truth requires detachment and at the same time, knowledge and acceptance.
 There are different names for the Hindu god, Shiva in his various forms. Though an ascetic, Shiva’s role is as householder, implying that we need not leave society to be devoted to following principles of Dharma; conduct; right way of living. In the aspect depicted here, Lord Shiva creates, sustains, and destroys life. As The Nataraja, he dances within the world of illusion, represented by an outer ring of fire. There is an inner ring of water, and some statues show multiple rings of fire and water. As he victoriously dances upon the demon of ignorance, Shiva’s matted dreadlocks whirl about him, capturing a number of heavenly bodies, like the physical representation of the sacred river Ganges, which fell from heaven to earth, first landing in Shiva’s hair so as not to destroy it. The moon is symbolic of many things, such as seasonal changes, life’s rejuvenation and love, all kept active with this dance.
 The gestures of the dance represent Shiva’s five activities: creation – symbolized by the drum, protection – the “fear-not” pose of the outward-facing hand, destruction – by the fire, embodiment – by the foot planted on the ground, and release – by the foot held above ground. Snakes coiling about his body symbolize the life force within all of us – the Shakti or kundalini – and display his power over the most deadly of creatures. Also, as snakes shed their skin, so do our souls reincarnate, according to Hindu beliefs.
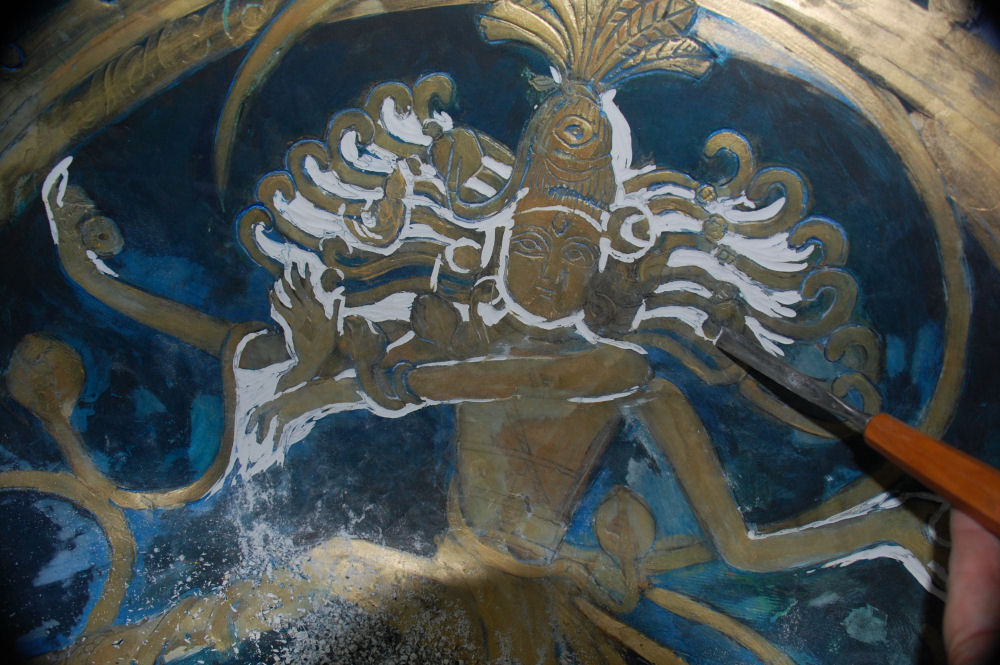
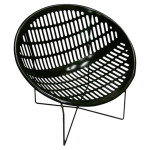
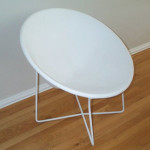
The first four first four Chairs were up-cycled second-hand store original Solaire Chairs, but I have found a decent source for newer ones, so finally some ideas I’ve had for years can be realized, and special orders can now be filled. With thin applications of plaster then sanding and waiting for successive layers to dry, four new Chairs, 29H x 29W x 29D inches, started April 5th are now in progress, concentrating on the details of two while the others cure. One chair, the priority, is of Shiva as The Lord of Dance, and one chair is an addition to the Zen Garden series. The third is a large replica of a Moche culture (1st century Peru) earring/ear plug, and the fourth chair will portray an Easter Island theme, something I’ve had in mind since I bought the very first chairs in the 1990’s. Until refining stages, the four can be worked at the same time while plaster is added, cures and is sanded down.
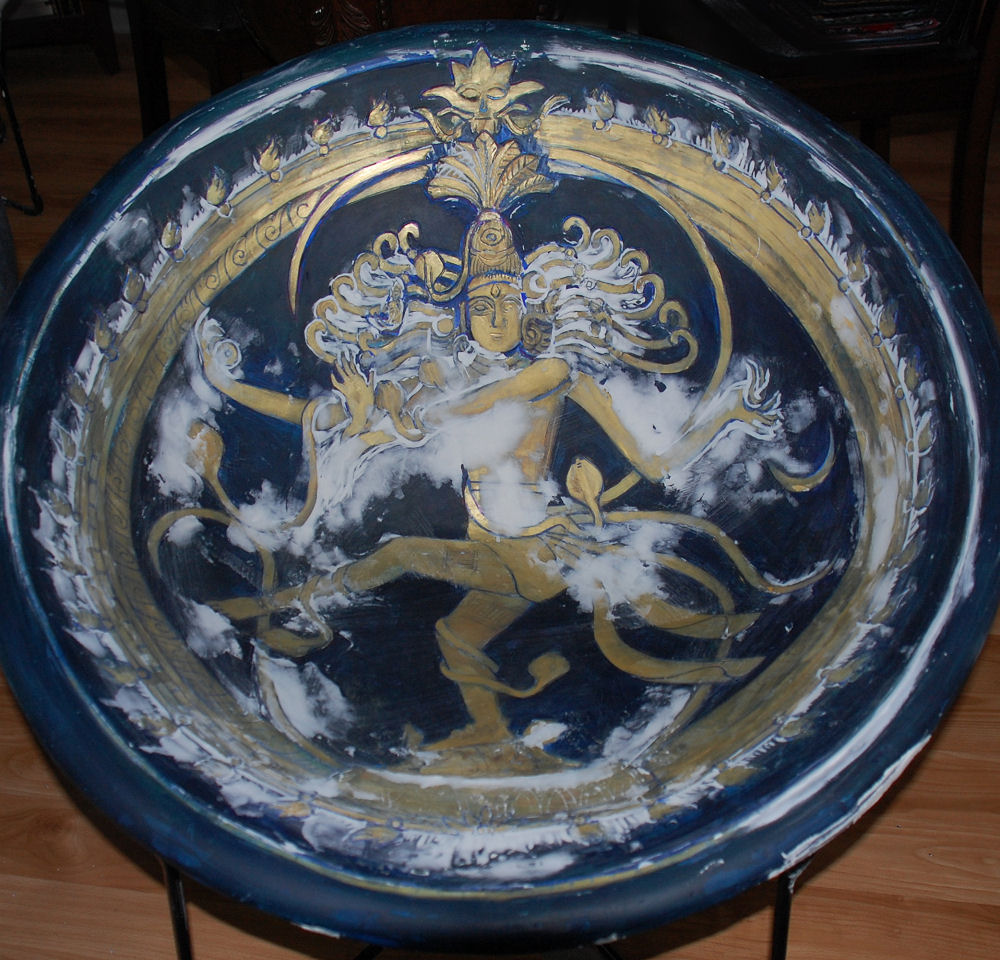 In this visual translation, the symbol of Om, first sound uttered in the Universe, weaves throughout, as if to involve a complete sensory understanding. All hand gestures have specific meanings, like the open front right hand facing us in “abhayamudra” gesture, denoting reassurance and safety for all who follow a righteous path. The drum in his right hand beats ceaselessly and infinitely, “Om”, while the universe is created, destroyed and recreated. The back left hand holds flames of fire, with both destructive and cleansing properties. The front left arm is held across the chest like an elephant’s trunk, with the hand pointing to the left leg and foot, lifted as a sign of liberation as the sacred elephant leads the way through jungles of ignorance.
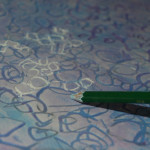
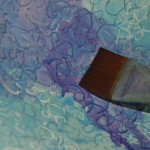
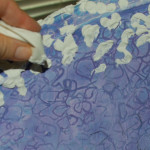
The graphite design is first partially engraved with pencil in damp plaster, helping to show which areas to raise and hwich to recede. The addition, removal by sanding and carving gradually refine the design along with successive layers of paint which, when finished, the combination shows through as a mottled sort of patina, perfect for this subject. The icon on the finished chair will be gold-bronze colors, as the Shiva as Nataraj sculptures are traditionally made of bronze. Plans are for the background to be antiqued cobalt blue or teal.
Zen Garden #16 Chair started
Monday, April 6th, 2015
Zen Garden #16, most recent of the Zen Garden series 29 x 29 x 29 inches mixed media on vintage Solair chair, in progress.
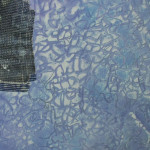
Initially the plan was to engrave pebble designs in the chair’s plaster surface, but since the circumference patterns turn out so interesting, I decided to continue the pebbles all over, front and back/underneath. They will be sanded down to almost flat, so the finished chair will still be comfortable to sit in.
Cameron Can Count Backwards
Thursday, March 19th, 2015
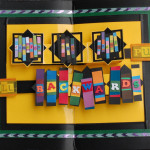 July 2014 – March 2015: Cameron Can Count Backwards
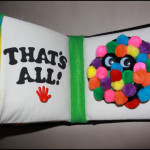
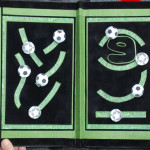
When Cameron was still two years old and I asked him what kind of book he’d like next, he answered “Cameron Can Count”. To fulfill his wishes, and my own for a clearer direction since that was the book he got last year, the compromise is a ‘backwards edition’ in the form of an interactive pop-up book. Searching the internet, there are a whole spectrum of paper-oriented art forms, from the craftiest, stamp-iest, cutsey Kricut machine-cut pop up cards to stunning, intricately engineered paper sculptures. The best website sharing easy-to-learn pop-up basics is Extreme Cards and Papercrafting.
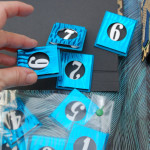
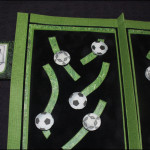
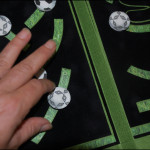
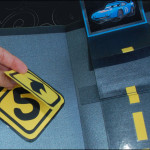
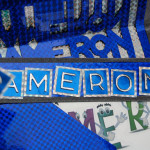 Starting with research and experimentation, I spent a couple of weeks making prototypes out of plain card stock. There are fantastic selections of decorative paper, tapes and trim designs available in craft stores now, and purchasing these things helped spark imagination and theme visualization. Supplies can be pricey, but less so if using coupons and waiting for sales. There were plenty of miscellaneous materials already on-hand, and the dollar store is always a good resource for finding things like the magnetic car game which was pulled apart and reassembled into a name-spelling activity.
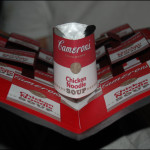
After the initial creative buzz, somewhere along the way a certain amount of restraint is called for, not just in shopping, but in choosing which pop-up tricks to put where. For me, this stalled the process quite a bit. I was fairly overwhelmed by wanting to include all the bells and whistles, but it’s just not feasible to do every idea that “pops up”. Not only will the pages seem muddled by too many ideas, but increasing the mass presents a super challenge when binding the whole thing together. Mechanisms also need space to work properly, and a book like this needs to be comfortable to read. These were things that only experience could teach. Admittedly, there are a few clunky pages with things falling out of this book. Perhaps with the next book I’ll be able to exercise more of that restraint. Ah, realistically, probably not! 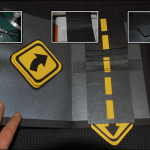
Balanced with the fun, more ornate facets of book-making, particularly with a pop-up / interactive book, learning and perfecting the basic structural elements cannot be overemphasized. The mathematics of paper mechanisms are unforgiving, and a millimeter off at the start can add up if things are not corrected as much as possible before going forward. Some of the folds are tricky, especially with pop-out lettering. Clean hands and work surfaces are extra important. Some papers show finger marks or buckle too easily, not practical for pop-ups or for children’s books. It becomes necessary to slow down, simplify, think ahead, see how things work, take extra care, and find the kind of patience you didn’t even think was obtainable.
Translating the 2 dimensional into 3 dimensional can be frustrating, but as is repeated so often in my blog articles about creating anything, mistakes are a beneficial part of the learning process. It’s definitely hard to have faith in that when pages have to be redone several times though, and some papers are pretty expensive or hard to find again. Well, experience and confidence are earned, and it ain’t cheap!
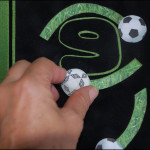 Each year my books for Cameron will be age-appropriate. He and his little visitor-friends are likely to turn pages harshly and press books open beyond stress points, that’s to be expected. These pages are made primarily with card stock and paper, and some have delicate parts far from durable or practical in a three-year-old’s hands, but young children already know about special things, and if they don’t, it’s the best age to guide them to treat things respectfully. Books are not like toy cars, and Cameron knows the difference. This will be more fun to read with an adult anyway, and it will be given a safe spot on a shelf until it’s time to read.
‘Cameron Can Count Backwards’ was started in July 2014 and just needs finishing touches. It’s March 2015 as this is written, and the book has been bound, but fairly ineffectively. The spine is not wide enough to open pages effectively. It could pass, but why do all this work to have it not open adequately? This setback offers a chance to sew the cover in soft faux leather and improve the overall quality. I’d like it to look like a very old, important, expensive book.
 |
 |
 |
 |
 |
|
 |
 |
 |
 |
 |
|
 |
 |
 |
 |
 |
|
 |
 |
 |
 |
 |
|
 |
 |
 |
 |
 |
|
 |
 |
 |
 |
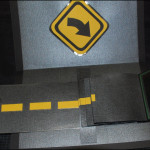 |
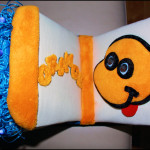
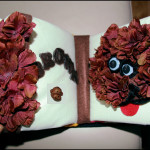
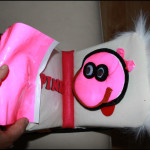
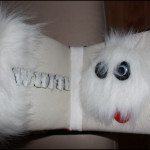
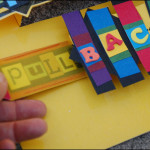
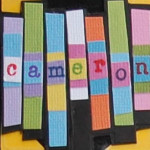
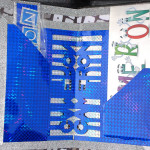
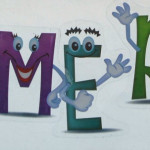
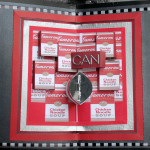
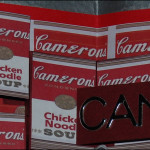
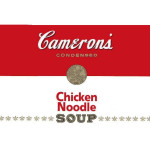
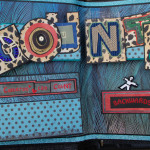
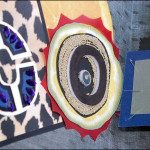
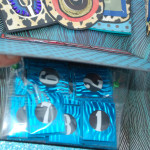
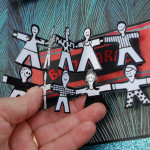
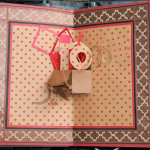
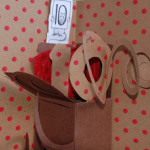
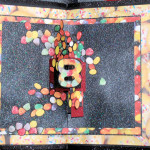
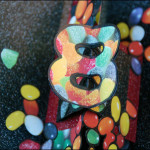
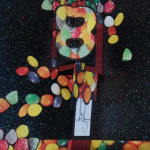
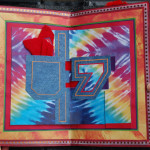
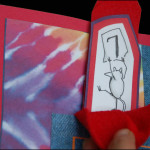
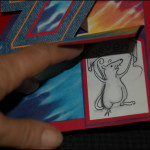
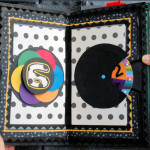
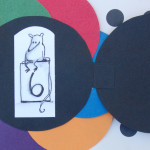
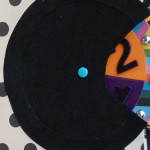
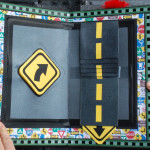
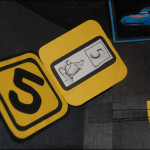
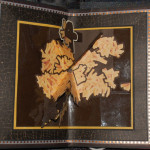
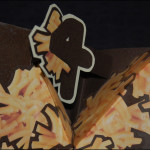
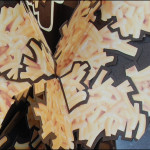
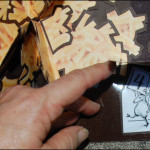
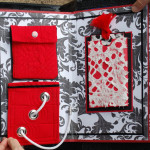
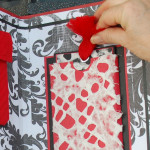
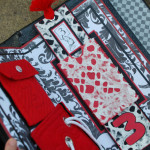
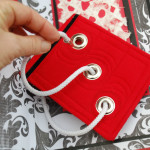
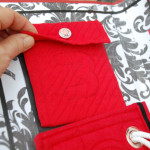
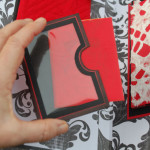
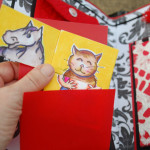
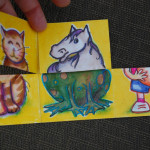
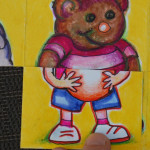
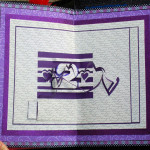
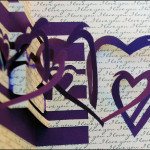
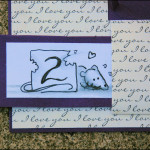
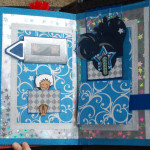
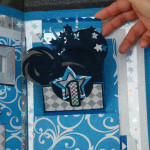
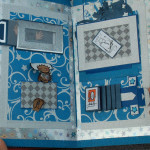
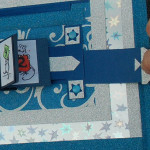
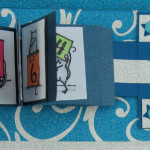
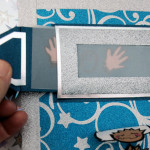
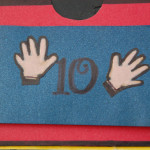
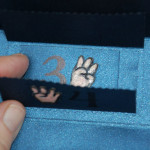
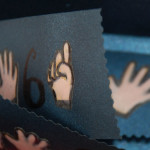
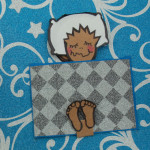
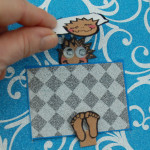
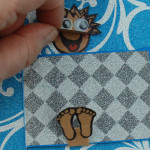
There is a title cover page, then a page is made for each separate word in the title, ‘Cameron’, Can’, and ‘Count Backwards’… three extra pages because I absolutely had to make that can! Throughout there are interactive components, and on each page a mouse is hidden somewhere. It took so long to perfect each page, by the time the last pages were under construction the first ones already seemed amateur and needed to be re-done, either by disassembling parts or completely starting over. A person could forever be perfecting one book, but it’s time to finish this one and start the next for Cameron’s fourth birthday.
 |
 |
 |
 |
 |
|
 |
 |
 |
 |
 |
|
 |
 |
 |
 |
 |
|
 |
 |
 |
 |
 |
|
 |
 |
 |
 |
 |
|
 |
 |
 |
 |
 |
Cameron Can Count
Saturday, April 19th, 2014
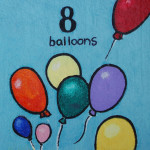
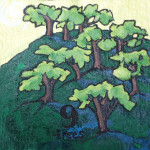
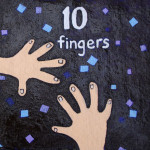
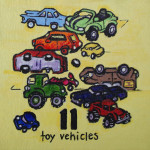
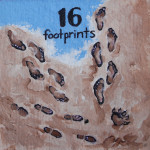
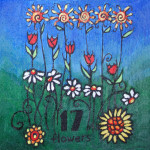
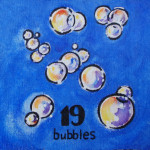
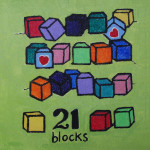
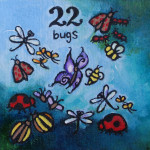
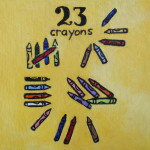
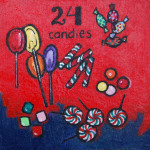
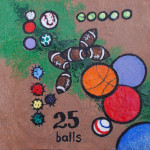
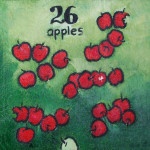
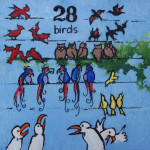
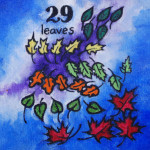
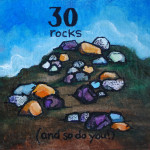
April 2014: Cameron Can Count to 30
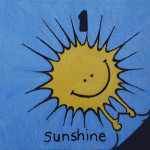
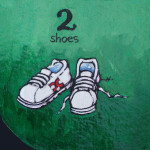
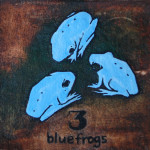
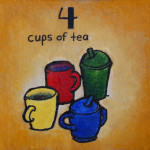
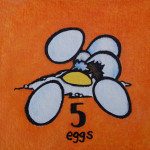
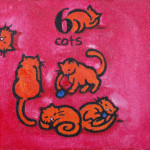
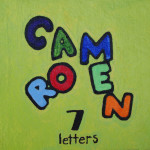
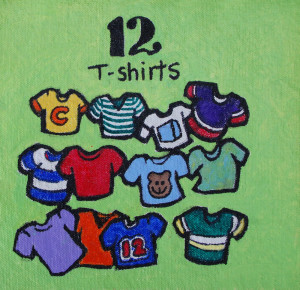
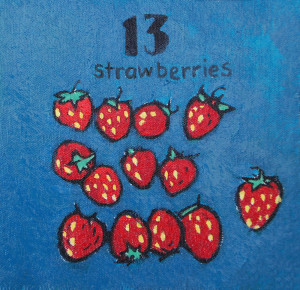
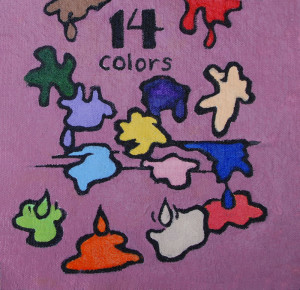
8 x 8 inches markers, watercolors and fixative on canvas. Thinking that acrylics paint would make pages stick together even when dry, I chose watercolors on primed canvas instead, barely diluting the paint so the colors are dense. Krylon workable fixative works best to protect the work, as it brings out the colors very nicely and it doesn’t hold the caustic smell that regular varnish does.
 |
 |
 |
 |
 |
|
 |
 |
 |
 |
 |
|
 |
 |
 |
 |
 |
Each page has a hole peeking through to the next page and the one before, where colors match up in such a way that the hole may only be noticed when the page is turned. The holes were filled in for the sake of aesthetics in the images shown here. This peek-hole detail was an afterthought, and since I had already painted most of the pages I was committed to using certain colors, which made the process take longer than it had to. When using this idea next time, the peek-holes will be larger and be the main focus of the book. Large binder rings through grommets on each page hold the book together, so the pages are fairly easy to turn and the book can start anywhere.
 |
 |
 |
 |
 |
|
 |
 |
 |
 |
 |
|
 |
 |
 |
 |
 |
A Creative Twist
Saturday, January 19th, 2013
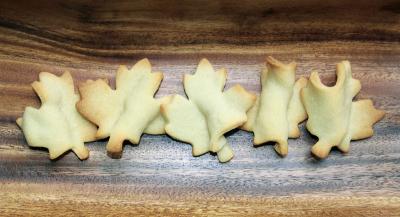
…well, just a twist of waxed paper actually. The leaf-shaped cookie dough was laid gently over twisted pieces of waxed paper. After the cookies baked and cooled the waxed paper was removed, so they’re a little more interesting than flat cookies. The Sugar Cookies recipe is the same as used for Culture Cookies, which is listed at the end of the article. While you’re munching on the cookies you bake, browse back to the top and read the article!
Colours For Cameron
Friday, October 12th, 2012
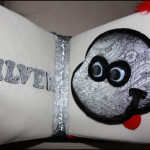
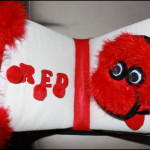
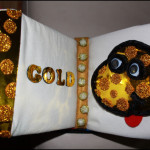
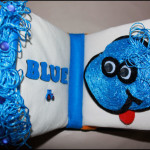
Colours For Cameron, 24L x 8H x 6D inches, mixed media on quilted muslin over cardboard pages
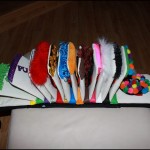
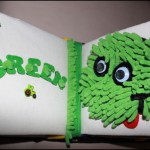
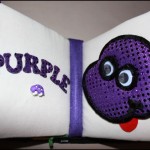
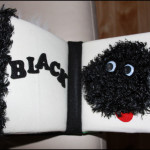
“Colours For Cameron” (Canadian spelling!) is composed over five deconstructed heavy-duty cardboard children’s books bought at a dollar store. The Monte head-templates were covered with inexpensive everyday items, so I splurged on unique notions like the $10 monkey button sewn on the ‘Brown’ page, and the cute little cars and tractors that Cameron loves. Some of the fabrics were fairly expensive, but there are enough remnants to make other similar-style projects in the future.
Each page is a quilted muslin sleeve pulled over the cardboard, and colored fabrics divide each page at the base, where they are all sewn and glued together. Rubber letters were covered with various fabrics, and each page has stuffed colored pockets on the outer edge, inviting chubby little fingers to open them..
Colours For Cameron, first book for my grandson
Friday, May 25th, 2012
When my grandson was born in 2011, I had already decided to make him a book every year for his birthday. One-year-olds are receptive to colors and textures, so a soft book for Cameron at this age was perfect. Using Monte as my muse, the work evolved into a sort of stuffed toy-book hybrid that is much bigger than was initially planned, but it’s quirky, fun to read, and Cameron likes it. Each 6 x 6 inch page is quilted unbleached cotton sewn over heavy cardboard from a disassembled book purchased at the dollar store. I bought a lot of the things there actually, like many of the textured materials, including a dog toy with the squeaker removed and incorporated into the last page. The savings were spent on tractor buttons and more costly embellishments I knew he would like.
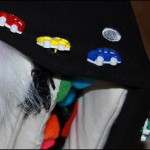
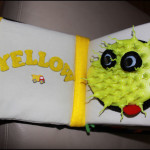 Each page has quilted appliques of Monte in different colors, with big googly eyes. The outer edges of each page have shallow pockets to grab the page, covered whatever textile corresponds to each Monte. The ten or so chubby pages are sewn together – 2 inches of fabric were left on the book’s spine-side for that purpose. The combination was then attached to a sturdy cardboard spine with a glue gun. No turning back after that, because hot glue is permanent on fabric. The entire cover of black linen wraps around with straps that Velcro together, creating a handle. Little button-vehicles adorn the handle area – he loves tractors and cars. I’m happy with the finished piece, and so is Cameron. It’s one of a kind, like him.
Monte rocks!
Tuesday, May 10th, 2011
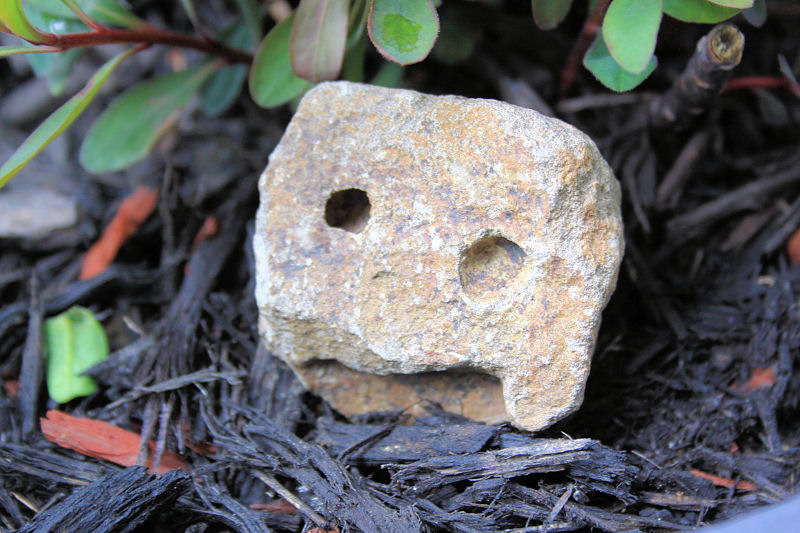
Monte rocks! Who is he?
Practical design
Tuesday, December 21st, 2010
“Necessity is the mother of invention.”
Aesop’s Fables
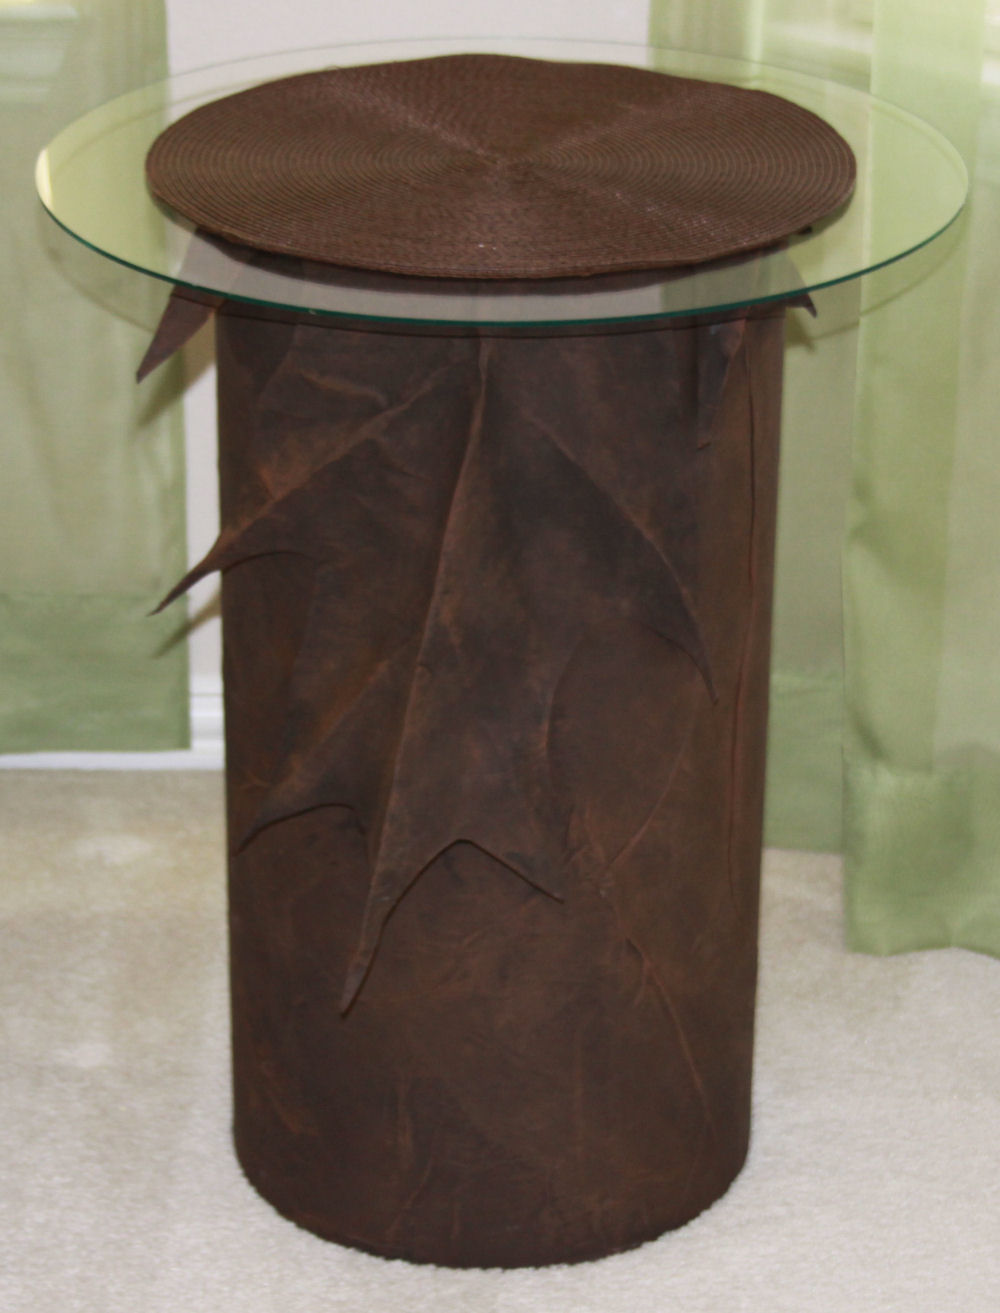
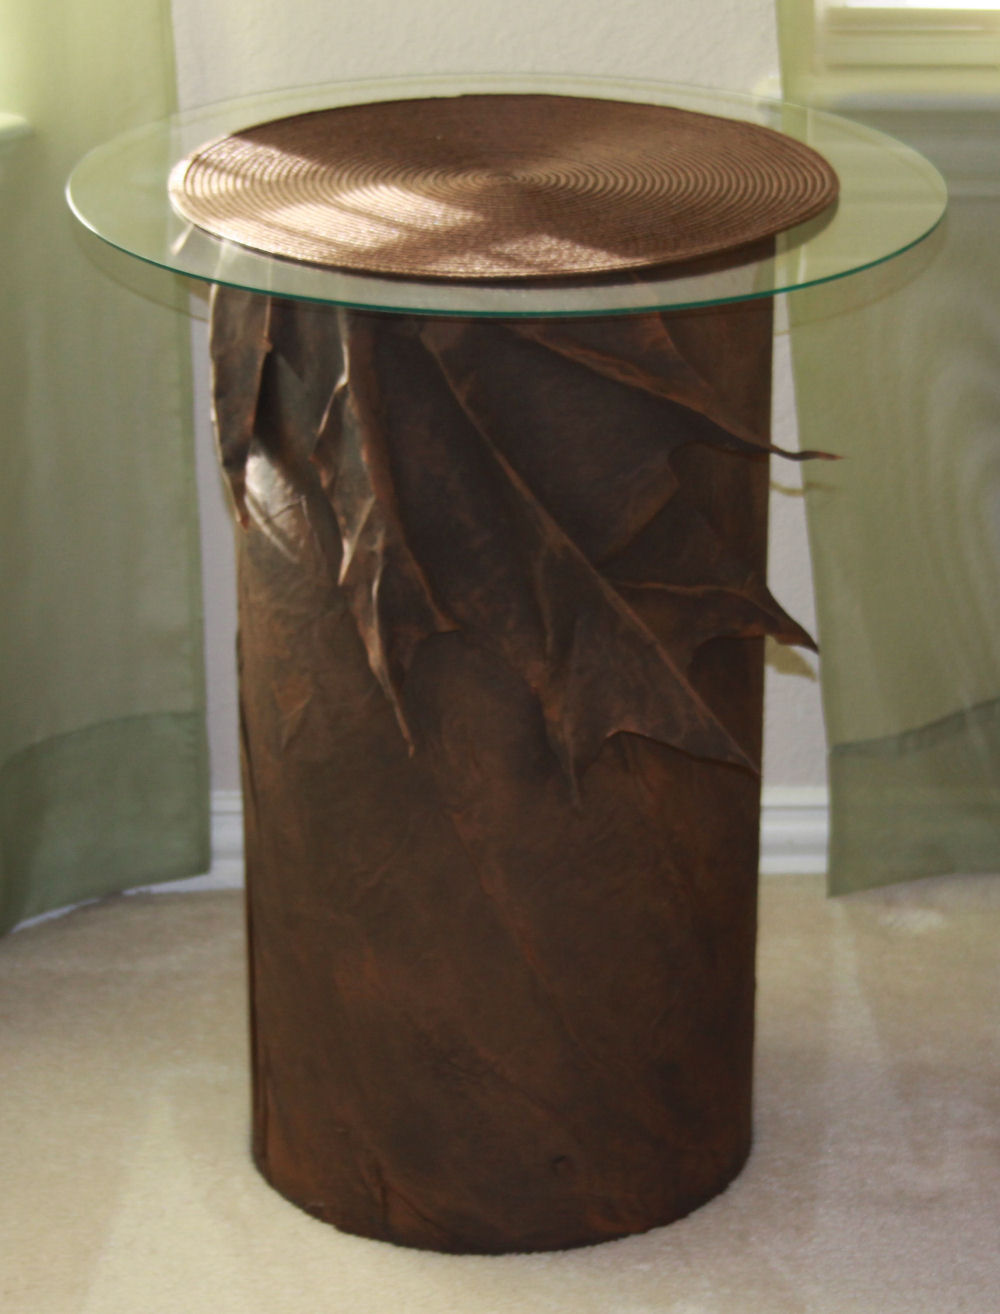
Oak Leaf bedside tables, 24H x 12W inches with a 20-inch glass top. Large, crinkled paper mâché leaf-shapes are creased, folded and arranged over the top of heavy cardboard tubes. The tubes are available in a variety of dimensions, sold in hardware stores as use for cement foundations.
I’ve had this idea to make bedside tables for a few years now, and selling the house, prepping it in a minimalist way for viewing has motivated me to finally make them. Faux suede effects were the intention here, and I’m pleased with the results. it really does look like suede. A brown circular woven mat covers the glass and hides the space looking into the tube.
Zen Garden #10 almost finished
Wednesday, November 10th, 2010
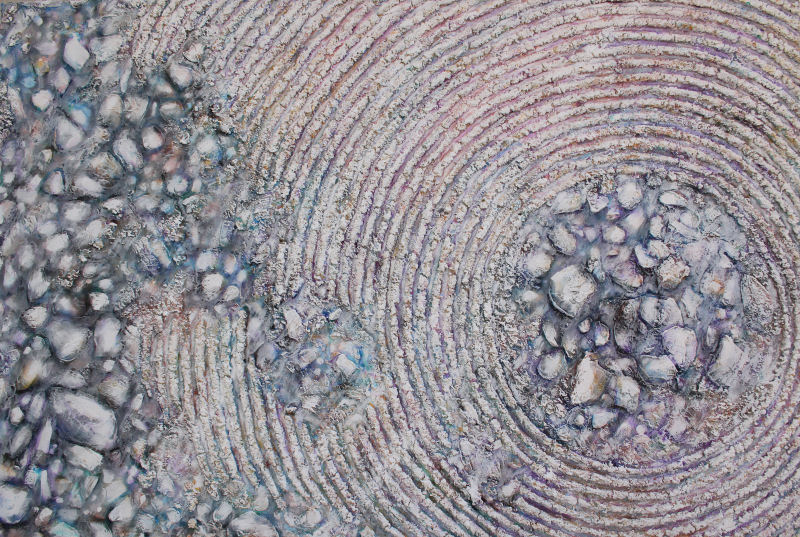
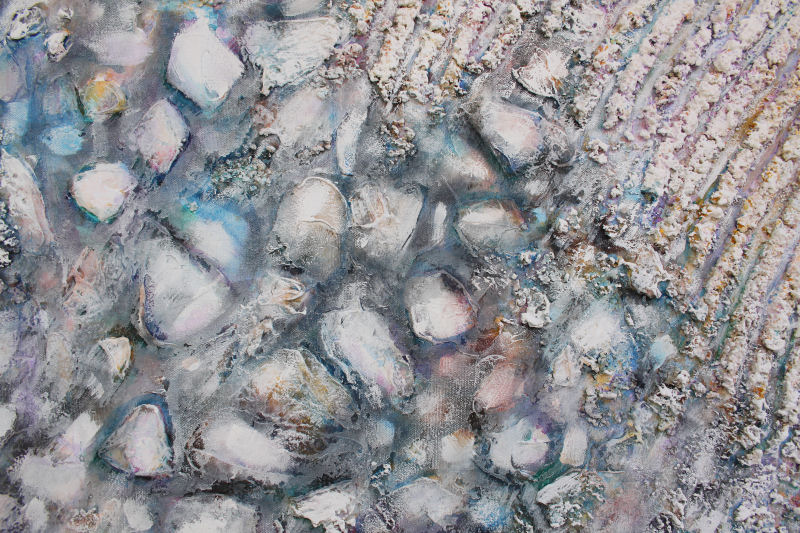
Zen Garden 10, 40 x 60 x 3 inches mixed media on canvas.
The final stages of this paintings will be finished as it hangs on a wall. As seen in a realistic room setting, it will be easier to spot whatever might make the composition more interesting. Some colors may need to be re-enhanced to add more depth and definition, but I also like the overall faded look, so we’ll see. The texture continues around all 3D edges. This painting is extremely heavy, as it is on a home-built canvas stretcher, so it will be transferred onto a lighter-weight stretcher if it sells. It will still be stable, but practical. All paintings in the Zen Garden series are wired to hang in any of 4 orientations: vertically or horizontally. Below: details of left central portion as seen in the above.
« Previous Entries Next Entries »

